
Choose a Screw Gun by Fastener Fit and Depth Control
Learn what a screw gun does, how it differs from a drill or impact driver, and how to match screw size, collation, bit and depth setting.
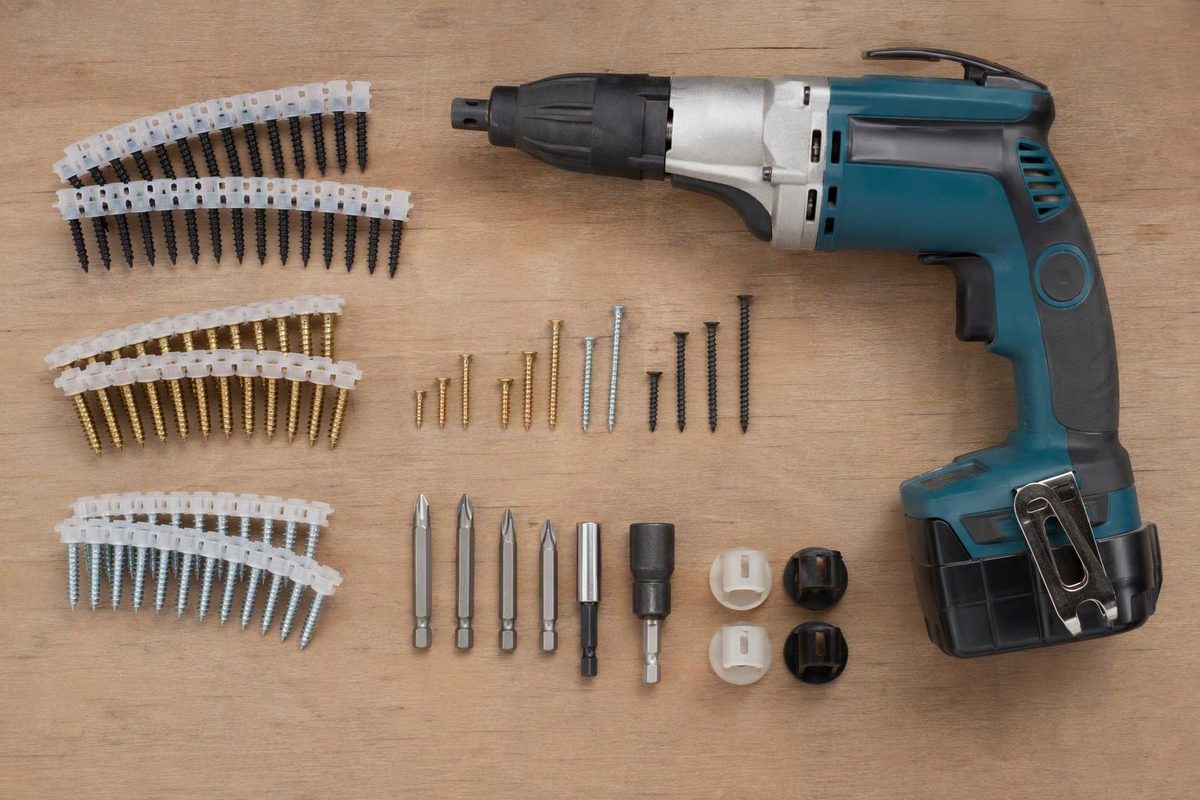
A screw gun is a powered screwdriver designed for repeated fastening, commonly with an adjustable nose that controls how deeply the screw seats. Choose it by the intended material, screw diameter and length, drive recess, and—if it feeds screws automatically—the compatible screw strip. A drywall screw gun is not automatically suitable for decking or self-drilling screws.
Depth control is the key feature of a drywall screw gun: the DeWalt DCF630, for example, uses an adjustable nosecone to set screw depth. That is a different function from the torque-limiting clutch on a drill/driver.
Screw gun, drill/driver or impact driver?
| Tool | Main control or mechanism | Choose it when |
|---|---|---|
| Depth-controlled screw gun | Adjustable nose/locator sets seating depth | You are repeatedly installing compatible screws to the same depth, such as hanging drywall |
| Drill/driver | Chuck accepts drill and driver bits; numbered clutch settings limit turning force | You need to drill pilot holes and drive a variety of screws |
| Impact driver | Rotational impacts help turn fasteners under resistance; typically a 1/4-inch hex collet | The selected screw permits impact driving and you need it for demanding screw-driving work |
These mechanisms are documented in the Makita FS6200 screw-gun manual, Makita XFD13 drill/driver manual, and Kreg’s impact-driver explanation.
For mixed repairs, a drill/driver is usually the more useful starting tool because it handles both hole preparation and driving. For repeated board fastening, a screw gun provides a dedicated depth adjustment. A depth setting is not a specified tightening torque: Makita lists the FS6200 with depth adjustment but no torque adjustment.
Check compatibility before buying
1. Match the screw to the connection
Record the screw’s diameter designation, length, head style, recess and point type. Also identify the material being attached and the material receiving the threads. Tool capacity does not establish that a screw is suitable for the load or exposure.
For decking, use the separate deck screw-gun matching guide. For steel, check the selected self-drilling screw’s drilling capacity and driver requirements, rather than assuming any drywall gun can drive it.
2. Check the tool’s application and capacity
No-load speed alone does not establish suitability. The Makita FS6200 is a 0–6,000 RPM drywall screwdriver described as ideal for hanging drywall on wood framing. The SENCO DS322-18V is a high-torque collated model with selectable 2,500/1,600 RPM speeds, a listed screw-length range of 1–3 inches, and diameter designations #6–#12; its applications include decking and gypsum/sheathing to heavy steel.
Those specifications describe different tools, not interchangeable capabilities. The # designations are screw sizes, not millimetres. Being within the diameter and length ranges is only part of the compatibility check.
3. Match the feed system and bit
A single-screw gun requires you to present each screw. An autofeed system advances collated screws held in a strip. Some screw guns accept an optional magazine; others have a dedicated feed system.
For a concrete compatibility example, Makita’s 199145-0 magazine specifies:
- Screw lengths of 1–2-3/16 inches.
- Standard 50-screw flat strips.
- Named compatible screwdrivers, including the FS6200.
- 5-1/8-inch power bits in #2 Phillips and #2 square versions.
The FS6200’s normal single-screw setup instead includes a 1-inch #2 Phillips insert bit and a 3-inch magnetic holder. A matching 1/4-inch hex shank therefore does not, by itself, prove that a bit has the correct length or geometry for the magazine.
Set depth on representative material
- Switch off and disconnect power before changing bits or making adjustments: unplug a corded tool or remove the battery. Wear eye protection, and check for hidden services before fastening.
- Fit the specified bit and holder—or the magazine’s specified power bit. For autofeed, set the nosepiece to the screw length and load the compatible strip according to its manual. Makita’s magazine instructions illustrate this setup.
- Prepare any required pilot hole using the screw manufacturer’s material-specific instructions. A screw gun does not remove that requirement; there is no universal pilot-hole size based on the tool name.
- Set the locator or depth dial as instructed, reconnect power, then drive a trial screw into material that duplicates the actual board and backing.
- Inspect the installed head. Disconnect power before further adjustments, then repeat the trial until the intended seating depth is repeatable.
Makita’s FS6200 manual specifically calls for trial driving and continued depth adjustment. It also explains that the motor can run while the bit remains stationary: forward pressure engages the clutch. That behaviour is not necessarily a fault.
For drywall, the target is a screw head just below the surface without tearing the face paper, as National Gypsum instructs. Follow the particular assembly’s screw and spacing requirements; the gun’s depth setting does not determine them.
Works when / fails when
Works when: the screw suits the connection, the tool and feed system accept it, the bit fits straight in the recess, and trial screws confirm the required depth.
Fails when: you substitute an incompatible strip or bit, select a drywall gun for a task outside its capacity, or keep driving after the head or surface is being damaged. Stop and check the mismatch rather than increasing pressure. Makita’s manual warns that a bit inserted crookedly can damage both the screw and bit.