
Choose a Deck Screw Gun by Screw Range, Feed System and Decking
Match a deck screw gun to screw length, diameter, collation, drive bit and decking, then set depth on scrap before fastening the deck.
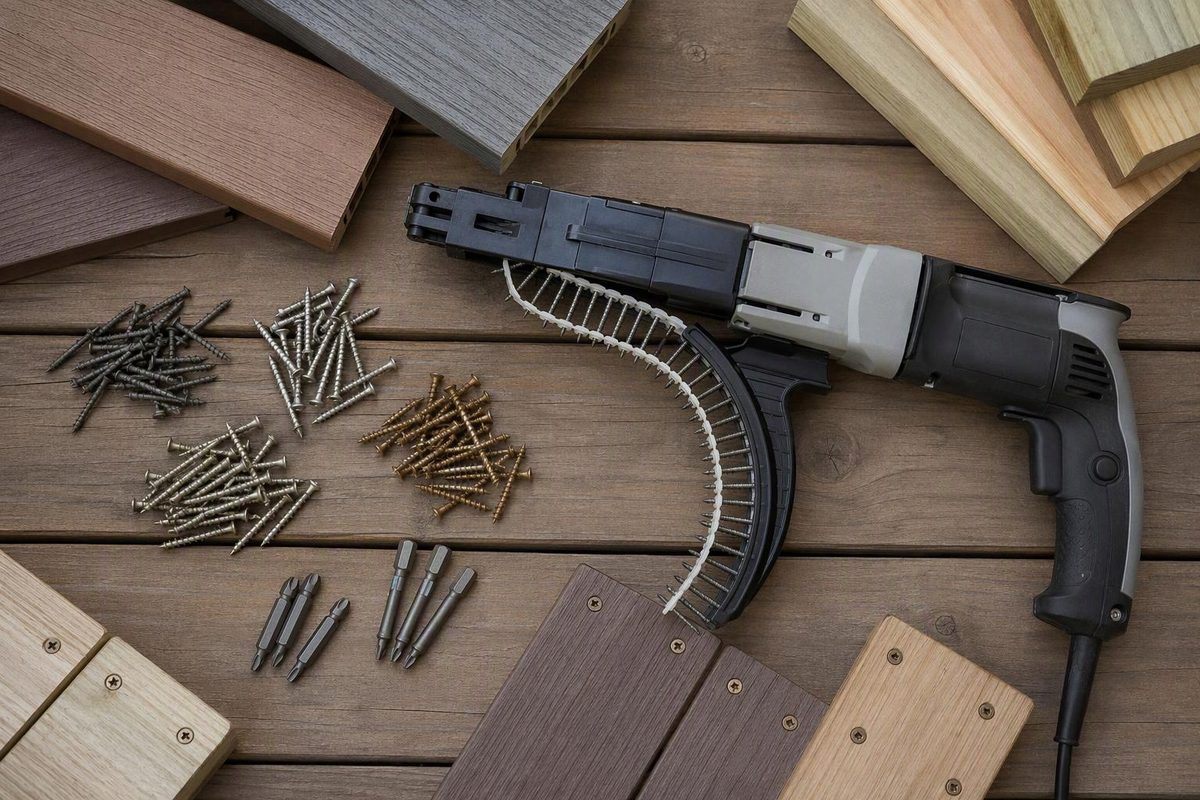
A deck screw gun is usually a depth-controlled driver paired with an auto-feed attachment, collated screws and—on stand-up systems—an extension. Choose the screws and fastening method first. Then verify that the gun accepts the exact screw length, diameter, collation strip and drive bit.
Do not select by voltage or maximum rpm alone. For example, Makita’s XRF03Z is a 6,000 rpm autofeed tool, but its stated collated-screw range is only 1–2 3/16 in. A SENCO DS530 attachment accepts 1–3 in., #6–#12 screws and lists decking among its applications. The faster tool does not automatically fit the longer deck screw (Makita; SENCO).
Decide which fastening system the deck requires
| Deck fastening method | Suitable tool | Compatibility limit to check |
|---|---|---|
| Face screws through wood boards | Deck-rated collated screw gun or attachment; drill/driver for a small job | Screw length and diameter, exterior coating or stainless grade, strip format, drive bit and depth range |
| Face screws through composite or PVC | System approved by the decking manufacturer | Board line, screw and head design, setting tool, finished depth and predrilling rule |
| Edge screws | The screw maker’s guide or stand-up tool | Board material and width, required nosepiece, screw angle, bit and pilot-hole rule |
| Hidden clips | Clip maker’s driver or guide | Exact clip family, nosepiece and bit; “deck compatible” does not establish clip compatibility |
| Structural connectors below the decking | Connector-approved fastener and installation tool | Published connector fastener, diameter, length, coating and hole schedule—not an ordinary deck screw |
A collated gun is most useful for repeated rows of compatible screws. A drill/driver remains the more adaptable choice for loose specialty screws, perimeter work, plugs and corrections. Do not assume an impact driver is suitable: CAMO’s instructions specifically prohibit one with its DRIVE, ClipDRIVE and Marksman systems (CAMO training guide). Check the instructions for whichever system you select.
Check these six dimensions before buying
- Screw length. Use the length required by the board or fastener manufacturer, then confirm that it falls inside the tool’s feed range. “Up to 3 in.” is materially different from “up to 2 3/16 in.”
- Screw diameter. A feed attachment may specify a gauge range. The DS530, for example, states #6–#12; that does not mean every screw within that range has the right strip or head geometry.
- Collation format. Loose screws cannot simply be loaded into an autofeed nose. Use a screw SKU explicitly listed for the attachment or system.
- Drive and bit. Match the recess type—such as Phillips, square or Torx-style—as well as the bit size and required bit length. Autofeed attachments commonly require model-specific long bits.
- Nosepiece and depth range. Face, edge and clip fastening can require different guides. Simpson’s PRO300SG2 system uses a decking noseclip to align the screw over the joist and has a self-locking depth adjustment (Simpson Strong-Tie).
- Driver interface. An attachment may fit only named driver models. SENCO, for example, publishes specific Makita screwdrivers for its DS530-M1 rather than claiming universal fit.
This is also why a drywall screw gun is not automatically a deck screw gun. It may accept screws that are too short, lack a stand-up guide or have no compatible exterior fastener. Conversely, a purpose-made deck system may use a comparatively slow motor: Simpson specifies a 2,000 rpm driver in its cordless PRO300SG2 kit.
Match the screw to the board and exposure
Tool compatibility does not establish fastener suitability. Confirm all of the following separately:
- Board: pressure-treated lumber, cedar, hardwood, capped composite or PVC
- Framing: wood or metal joists
- Exposure: inland exterior, treated lumber, coastal or other corrosive conditions
- Fastening style: face, edge, plug or clip
- Required penetration and location: from the decking manufacturer’s current guide
Composite and PVC instructions can be system-specific. TimberTech says its Advanced PVC Cortex installation requires the supplied setting tool, perpendicular driving and at least 1 1/4 in. penetration into solid wood framing; it says no predrilling is required for that combination. Those directions should not be generalized to another board or screw (TimberTech).
The same applies to pilot holes. CAMO requires predrilling for capped composite and hardwood with the cited Marksman edge-fastening method, while the TimberTech Cortex combination above does not. Follow the selected board-and-fastener system rather than a universal “always” or “never” rule.
Ordinary deck screws also do not become connector fasteners because the tool can drive them. For joist hangers and similar hardware, verify the connector manufacturer’s approved fastener and pattern; see why deck screws do not substitute for joist-hanger fasteners.
Set up the gun without damaging the boards
- Read the gun, attachment, fastener and decking instructions.
- Disconnect power or remove the battery before fitting the bit, nosepiece or screw strip.
- Load the specified collated strip and set the screw-length adjustment.
- Drive several screws into representative scrap over the same framing material.
- Adjust depth until the head is flush or countersunk exactly as the fastening system requires.
- Hold the nose square to the intended screw path and apply steady pressure through the drive.
- Inspect the first installed row for proud heads, overdriving, damaged board surfaces and missed joists before continuing.
CAMO instructs users to test on scrap and adjust the depth dial before fastening the deck surface. Its face-fastening procedure calls for the nose to sit flat, the screw to align with the joist and the drive to continue until the depth release disengages. SENCO likewise describes tool-free depth adjustment with a lock for flush or countersunk drives (CAMO; SENCO).
If a screw stops proud, do not immediately increase depth and continue across the deck. First check for a depleted battery, worn or incorrect bit, misaligned nose, wrong screw, hidden obstruction or a missing required pilot hole. If the head buries too deeply, stop and reduce the depth setting; overdriving can damage the board or interfere with a plug or clip system.
Selection rule: Write down the approved screw SKU, length, diameter, drive and fastening method. Buy or rent a gun only after its compatibility list matches every entry.